Adding an atmosphere
From Mod Wiki
An atmosphere is needed to add sky, ambient light and sunlight to the outdoor areas of the map.
Add an atmosphere entity by right-clicking in one of the views and selecting atmosphere -> atmosphere. Place it high above your terrain, making sure it is not inside any geometry, and not outside of the map's whole caulk hull. In the Property Editor (N), give it a key pair of atmospheredeclarea22_01. This is Area22's atmosphere; a bright, clear day.
In order for game components to behave correctly later on, we need to define an outside area in our map:
- Like the caulk hull, by using 6 brushes, create a small room from textures/common/caulk underneath the terrain.
- Texture one of the brushes with textures/common/nodraw, and nudge the brush inwards so the outer face is flush with the adjacent four sides.
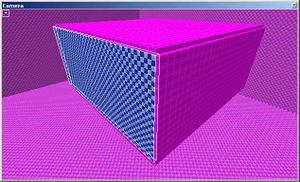
- Now texture the outward face with textures/editor/outsideportal. It should look like the image below.
