An Advanced Terrain and Megatexture
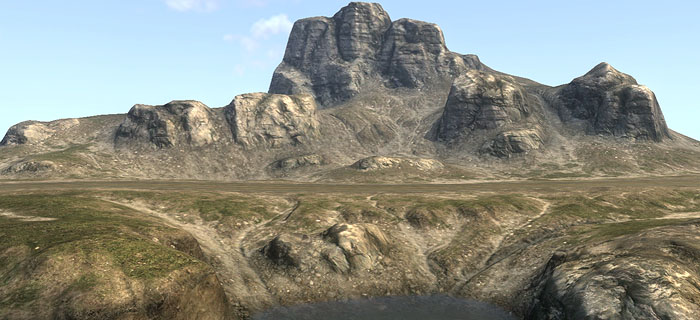
This guide will show you step by step, on how to create a detailed Megatextured Terrain.
Contents
Introduction
For this tutorial you must:
- Have a modelling package that can export as LWO, ASE or OBJ
- Have basic modelling skills
- Have basic mapping skills, as in A Simple First Map
This tutorial covers:
- Steps to create a detailed terrain mesh.
- How to assign the Megatexture
- How to add the terrain mesh to a map
- How to make a Megatexture
- How to compile a Megatexture
- How to add Water to a map
Programs used in this tutorial are:
- Mudbox
- World Machine
- Lightwave
- Maya (only used briefly)
Other similar programs can be used instead of these, but wont be covered in this tutorial.
This tutorial does not cover in detail:
- How to use Mudbox / ZBrush / World Machine / Blender / Lightwave / Maya / 3DSMax
If you already have a terrain mesh, and do not want to use Mudbox and World Machine, skip to Prepare Terrain for Megatexture .
Mudbox: Shape the Terrain
These are the basic steps for sculpting a terrain in Mudbox.
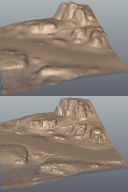
- Create a plane, and subdivide (but still keep a low tessellation).
- Change any tools you use to have the edit Direction set to Y axis.
- Create a new Layer, and sculpt the rough layout for the terrain.
- Subdivide again to as detailed as you want (or can).
- Create another layer, and sculpt more details into the terrain.
- Export to OBJ.
Convert Mesh to Heightmap
This step is needed if you want to import your current terrain mesh into World Machine.
- Firstly, rotate the terrain mesh. In Lightwave, rotate -90° around the X axis. For 3ds Max & Maya, rotate +90° around the X axis.
- Cap any holes in the mesh, and triangulate. Using a machine with an nVidia graphics card, run the following command in the ETQW console to get the heightmap (where [model] is pointing to the relative path of the .lwo, .obj or .ase mesh):
RenderBumpFlat –floatHeightmap -size 2048 2048 [model]
- An .r32 (raw 32-bit) heightmap will be saved into the same folder as your model, and this heightmap can be used in World Machine.
World Machine: Adding Flow
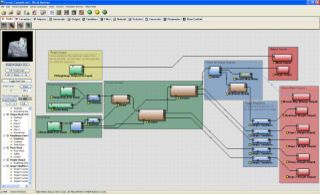
World Machine is used to add erosion flow lines to the terrain. It's also useful as the flow maps can be exported to help create masks for texture distribution later in Terrain Editor. These are the basic steps made to build the World Machine device nodes.
- Blend the heightmap made from the Mudbox mesh with perlin Noise to help the Erosion filters.
- Use a snow filter around the rocks (mask used), so rocks look like they are sitting in soil.
- Pass the heightmap through two Erosion nodes, which are set up differently, and combined give a natural flowing look. Both Erosion nodes are masked around the rocks, so they will keep their shape. The first Erosion node is setup as Channeled Erosion with an Inverse Filter, calving large flow lines into the terrain. The Second is a Channeled Erosion set with No Filter , adding finer detailed flow lines.
- The heightmap output of the erosion is split so the heightmap can be saved (and used to create a game mesh), and further filters created (sediment and normal map) to help make masks for texture distribution later.
- Flow and Deposition maps from the Erosion nodes are passed through Simple Transformation nodes
