Difference between revisions of "A Simple First Terrain"
(→That's it!) |
m (User:Ducks/A Simple First Terrain moved to A Simple First Terrain) |
(No difference)
| |
Revision as of 17:30, 26 November 2007
This is the barebones guide towards creating your first simple terrain and adding it to a map. This terrain won't be as detailed or as attractive as a full terrain, but will demonstrate the basics of creating a terrain mesh, assigning a texture, and adding it in-game.
Contents
Introduction
For this tutorial you must:
- Have a modelling package that can export as OBJ
- Have basic modelling skills
- Have basic mapping skills
If you can't do any of the above things, this tutorial is not for you!
This tutorial covers:
- How to create a terrain mesh and caulk hull
- How to add a terrain mesh to a map
- How to assign a texture
- How to work with terrain meshes and map geometry
This tutorial does not cover:
- How to use Blender/Maya/Lightwave/ZBrush/Mudbox/3DSMax
- How to create a megatexture
- How to create displacement maps
- Anything complicated
Building the Terrain Mesh
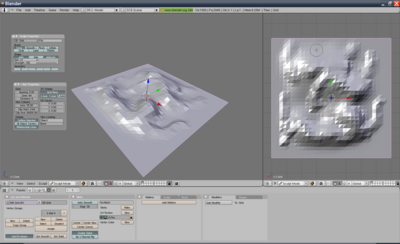
Use your preferred modelling package to create a basic terrain mesh that is exactly 32,768 units long and wide.
It is preferable to keep the terrain as basic as possible, so it can be refined later on during the mapping process. For this reason, the terrain mesh here only contains a very very rough formation of bumps (or 'mountains' as they might be known)
While you can use any dimensions for your terrain mesh - it is strongly advised to stick to 8k*8k, 16*16k or 32k*32k
Creating a Caulk Hull
Since maps must be leak-free/sealed, maps with terrain must have a caulk hull to ensure this is the case.
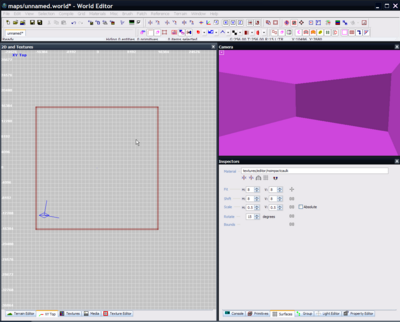
In this case, since the terrain is 32768 units long and wide, the caulk hull should also be the same dimensions. The caulk hull is quickly created from a brush 32768 units long, 32768 wide and 16384 units tall, which is then hollowed. The brushes are also assigned the 'editor/noimpactcaulk' texture, which prevents gunshots and projectiles from hitting the surfaces of the hull (they simply disappear instead.)
Setting The Terrain
The mesh must be triangulated before it is exported as an .OBJ, and saved as models/terrain/simpleterrain.obj. At this stage, a texture is not necessary, and can be set later.
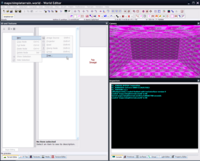
Terrains are set up in the Terrain Editor, accessible via shiftN. This tool creates a Surface Tree file (.sft) that contains all the information about the terrain, including roads, stamps, and detail texture information that MegaBuild needs to generate a megatexture.
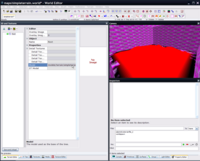
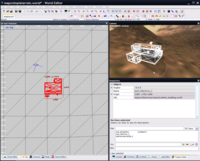
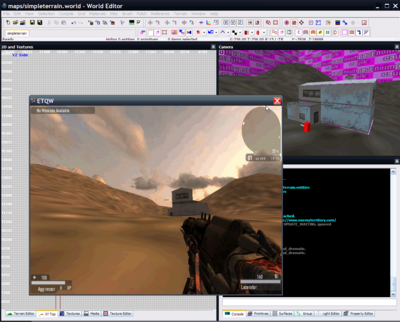
To set the mesh to the map, first press 'Begin Editing' at the bottom of the Terrain Editor window. Then RMB on the left-hand pane and create a new Tree via the menu. This creates a Root node on which all the terrain information resides. Clicking on the Root node allows a model to be specified - set Model to the name of the terrain mesh, in this case models/terrain/simpleterrain.obj. Press enter to confirm and the terrain should appear in the 3D view, with the red placeholder material.
At this point you may add a player spawn, an atmosphere, and compile the level to check the terrain. However, since there is no meterial set, there will be rendering issues.
You may find the 3D terrain is partly covered or obscured by the base of caulk hull. This can be fixed by moving or resizing the caulk hull so it contains the terrain properly.
Assigning a Material
For testing purposes, terrain meshes are often assigned a temporary material until they are in a state that they can be textured properly. Traditionally, this has been one of the existing materials in the game, such as concrete - textures/concrete/concrete10 (although any valid material will work.)
Due to an oddity with the OBJ format, the material name textures/concrete/concrete01 is not valid inside an OBJ file. Instead, the mesh should be the material name textures__concrete__concrete01 (where the slashes are replaced by double underscores.)
Setting the mesh material differs between modelling packages. However, since OBJ files are text, they can be manually edited with a text editor instead of using the modelling application. The OBJ will contain a line (often about halfway through) starting with usemtl followed by an arbitrary texture name. This line should be replaced with usemtl textures__concrete__concrete10 and the file saved.
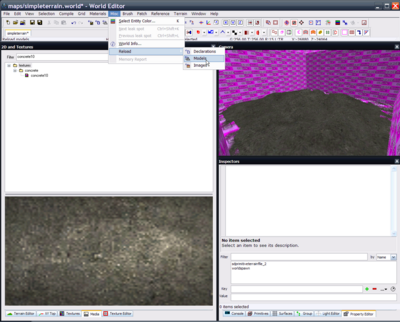
editWorld can then be told to reload the OBJ (now with a proper material declaration) via 'Misc' | 'Reload' | 'Models'.
Map Geometry
The map and terrain are now in a state that they can be used for level design, however difficulty can arise ensuring the structures in the level fit to the terrain.
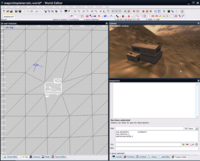
This can be countered using editWorld's export tool, which exports map geometry for importing into the modelling package alongside the terrain. This can be done by selecting the geometry to export (such as a building or a reference, located anywhere in the map), and pressing ctrle. This writes the geometry to models/export.obj.
The exported geometry can then be used as a template to modify the terrain accordingly - such as flattening areas of land to fit buildings, cutting holes for entrances of simply adding more detail. The modified terrain mesh is then saved for further work in editWorld.
Most often, terrain vertices are snapped to the corners of buildings and structures, such that the terrain faces now covered by the building can be deleted. This allows for buildings to sink into the terrain, and lead into underground areas of the map.
This process of refinement is repeated many times throughout the life of the map, ensuring the terrain precisely fits the map geometry.
When working with terrained maps, most level geometry is stored in separate References to allow for easy editing.
That's it!
You've now created a map with your very own terrain!
See Also
- How do I...? - how to do common tasks
- A Simple First Map - the first mapping tutorial
- A Simple Second Map - the second mapping tutorial
- An Advanced Map - a more complex guide to creating a map, including terrain
- Design: Troubleshooting - troubleshooting guide
