A Simple Second Map
Once you've created A Simple First Map, it's time to try something new with the skills you have learned.
For this tutorial you must know:
- How to create, move, resize and delete brushes.
- How to texture brushes.
- How to create entities and lights.
- How to save, compile and run a map.
If you don't know how to do any of those things, you are advised to re-read the A Simple First Map tutorial. Unlike the first tutorial, the hollow tool is not going to be used at all - instead, every brush is going to be created individually.
This tutorial covers:
- How to create a map consisting of two rooms
- How to create a moving door
- How to add a map object
- How to add Strogg and GDF spawns
Contents
Building Rooms
This map is going to consist of two rooms and a small doorway between them.
Planning
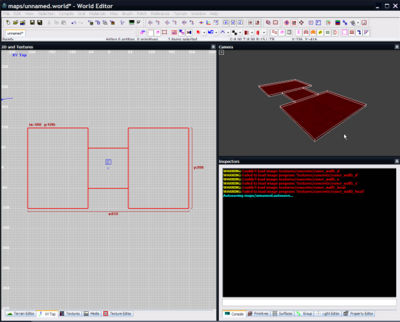
The best way to start is to create floor brushes that match the shape of the map we're going for. In this case, we need three brushes - one for the floor of each room, and a smaller one for a corridor that will join the two rooms together.
To make both rooms the same size, you can create one brush, select it, then use space to duplicate it, and move the duplicated brush into the appropriate place.
This is also an appropriate time to assign a texture. In this example, I have used 'concrete/concrete_floor01'.
Walls
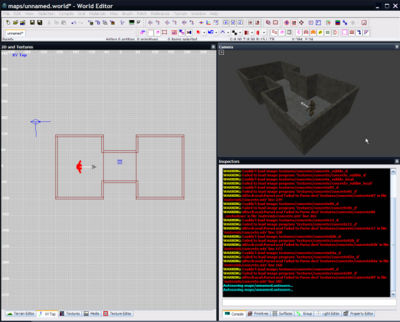
With the floor placed, create twelve more brushes to form the walls. Place them around the floor brushes, making sure there aren't any gaps between the bottom of the wall brushes and the wall brushes. Any gap can cause a leak. Use the different 2D top/front/side views (ctrltab) to place these brushes correctly.
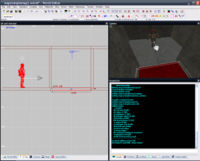
This is also an appropriate time to add a player start entity. In this case, we've added an info_team_gdf_spawn entity which we can use to make sure the walls are tall enough.
Remember this map is not ready to compile yet! The lack of a ceiling means that this map is not yet sealed, and will leak.
Ceiling
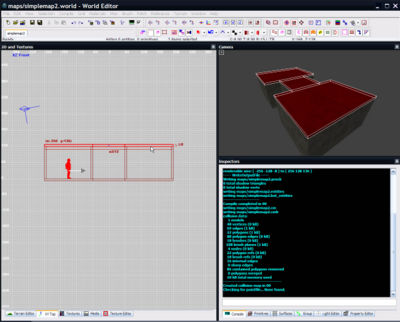
Finally, the ceiling can be added. The simplest way to do this is to select the three floor brushes, use space to duplicate them, and then move them into place above the walls.
Remember to ensure that there are no gaps between any brushes. Use the 3D camera to go inside and make sure all the brushes are lined up correctly. If you notice any gaps to the outside, move and stretch the appropriate brushes to close them.
This is a good time to add a light or two to the map.
Now save the map and try to compile it. If all goes well, the console (O) will show plenty of blue output as seen in the screenshot.
Leaks
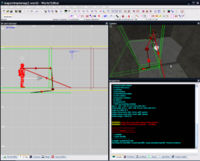
Depending on how careful you were in building your room, you may or may not have a leak in your map. If you do have a leak, the compiler will show a bright red message saying 'leaked', and the 3D view will draw a line going through the leak.
In the screenshot here, the the red line (with the arrows) goes through a small gap in the floor.
To fix this leak, we just need to resize one of the floor brushes so the hole is sealed.
When you compile the map again, and you've fixed the leak, it should now compile correctly. However, if you have more than one leak, the compile will fail again, but with a new set red line indicating the source of the next leak that needs to be fixed.
Creating a Door
There are many different ways to create a door. In this example, we're going to create a very basic door that involves making a brush that moves up and down when approached by a player.
Note: There are two types of entities. Firstly 'point entities', like lights and player spawn points, which cannot be resized. Secondly 'brush entities', which are simply brushes that are given some sort of ability.
Creating a door brush entity
This door is created exactly like any other brush. Make sure it fits exactly into the corridor between the two rooms.
The brush is assigned the texture 'metal/metal_door_2' texture.
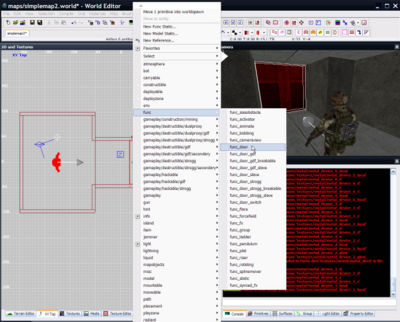
With the door brush selected, rmb on it to bring up the entity list, and select 'func_door'. This will turn the door brush into a 'func_door' entity, which means that in-game, it will slide open and closed when players approach.
Configuring the door entity
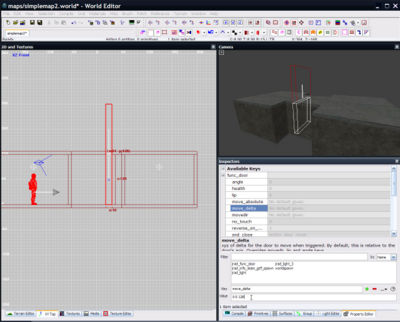
With the door selected, press N to show the Property Editor that allows the properties of this brush entity to be altered. Then expand the 'Available Keys', 'func_door' section at the top of the window. This reveals the properties of the door that can be edited that affect its behaviour.
The value that needs to be changed is move_delta. This defines how far and in which direction the door moves when it is triggered, and is defined as a 3D vector. For example, the 3D vector '16 32 128' means '16 units forward, 32 units right, and 128 units up'. Since we want this door to move upwards, we want to use a value of '0 0 128', which will make it move upwards 128 units when triggered.
To set this value, click on move_delta and at the bottom of the window where it says 'Value: No default given.', enter 0 0 128 and confirm with ENTER. If you scroll down to the bottom of entity properties window, you should now see move_delta0 0 128.
The 3D view should also show the position to which the door will move when opened.
