Water Surfaces
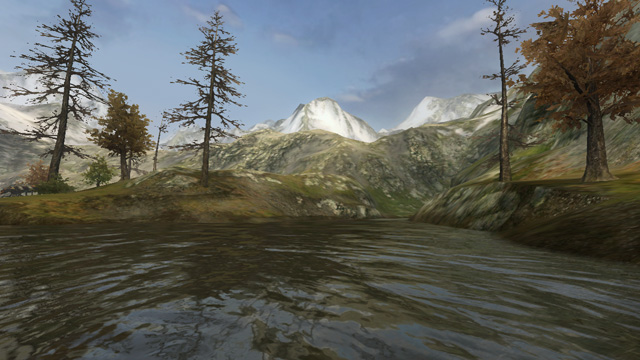
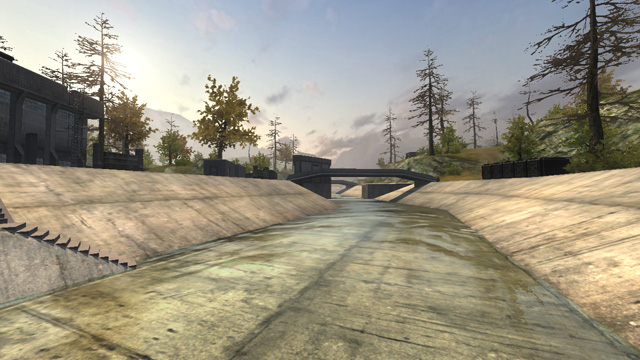
Water surfaces can be used in a variety of ways. You can create anything from tiny puddles to huge oceans.
Contents
Water Materials
Most of the time, water materials are set up to use moving or animating textures, with environment cubemaps to make the water look reflective.
Animated Water Materials
Here is an example of how animating water is set up. It involves a template and a standard material.
Frame Template
First of all, you need a template to load your animating water images. For ETQW we usually use 10 individual TGAs which form a looping, tiling water surface texture.
We usually set up a specific water material for each map, in order to keep them individual and easily editable. To this end, note that any references to mapname in the following material examples should be replaced with the name of your map for consistency.
template mapname_water_frametemplate {
	parameters <
		FirstFrameNumber,
		NextFrameNumber,
		Lerp
	>
	text {
		useTemplate material/water_simple_interpolate<
				"textures/water/mapname_FirstFrameNumber.tga",		// Bumpmap
				"textures/water/mapname_NextFrameNumber.tga",		// Bumpmap2
				"Lerp",							// Lerp
				"env/mapname/water",					// Cubemap
				"time * 0.01",						// Translate X
				"time * 0.01",						// Translate Y
				"1.0",							// R
				"1.0",							// G
				"1.0",							// B
				"0.008",						// Distortion Strength
				"6"							// Reflection Power
				"1.4"							// Glare
				"0.08"							// Bump Scale
		>
	}
}
- template should be any sensible unique name which you can reference later in your material.
- Everything else in this template can be left as shown here apart from these exceptions:
- textures/water/mapname_ denotes the path to your water textures.
- For example, using textures/water/test_ here would make the material look for numbered files called textures/water/test_00.tga to textures/water/test_09.tga if using a 10-frame interpolation template (as described below).
- env/mapname/water should point to an existing environment cubemap that approximates the surroundings you want the water to reflect.
- textures/water/mapname_ denotes the path to your water textures.
Material
Now you have created your frame template you can use it in a material. Here is an example of the material that uses the above template:
material water/mapname_water {
	qer_editorimage textures/common/water
	nonsolid
	sort refraction
	translucent
	forceAtmosphere
	backSide water/underwater

	useTemplate animations/frames10_interpolate < "mapname_water_frametemplate", [timescale] >
}
- material should be the name of the material you want to use in editWorld.
- qer_editorimage is the display image used in editWorld's cam view.
- nonsolid should always be used on water materials.
- sort refraction denotes the sort order of the material.
- translucent sets the material to be translucent.
- forceAtmosphere does something to do with the atmosphere.
- backSide water/underwater sets the material to be used when under the water.
- useTemplate animations/frames10_interpolate sets the animation template to be used. This takes the following parameters:
- "mapname_water_frametemplate" references the template shown earlier in this section.
- [timescale] is the speed at which the frames are interpolated. The higher the number, the faster the animation will play (1 is very slow, 2.5 is fairly slow, 10 is fast, etc).
- The templates for number of frames are defined in /base/templates/water.template. By default there are templates for 10- and 16-frame interpolation, although if you're feeling adventurous you could add a new template for interpolation of different numbers of frames.
Scrolling Water Materials
You can also set up water materials with only 1 frame, but scrolling to make them look like flowing water. For this you will need a set of tiling textures like the ones shown on the Here is an example material:
material textures/water/scrolling_water_01 {
	qer_editorimage textures/water/water_01_local
	sort refraction
	translucent
	forceAtmosphere
	nonsolid
	twoSided
	{
		blend blend
		program water/shoreline_froth
		diffuseMap textures/water/water_01_d.tga
		bumpMap textures/water/water_01_local.tga
		map textures/water/water_01_s.tga

		translate 0, time * (-0.5)

		vertexColor
	}
}
- material should be the name of the material you want to use in editWorld.
- qer_editorimage is the display image used in editWorld's cam view.
- sort refraction denotes the sort order of the material.
- translucent sets the material to be translucent.
- forceAtmosphere does something to do with the atmosphere.
- nonsolid should always be used on water materials (unless you want the player to collide with the water, but that is not very realistic).
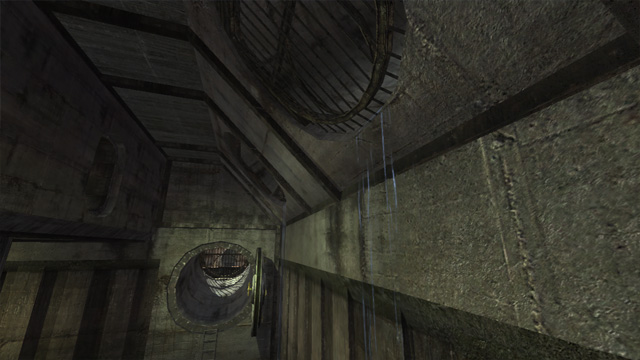
- twoSided should be used if you want the water plane to be viewable from both sides (eg. on a waterfall, or water dripping from a ceiling).
- The next stage, blend blend denotes that the material should have its transparency determined by the alpha channel of the diffuse map.
- program water/shoreline_froth sets the renderprogram to be used, and requires the following parameters:
- diffuseMap should point to a 32-bit TGA diffuse map with an alpha channel denoting the transparency of the surface.
- bumpMap should point to a 24-bit TGA normal-map matching up to the diffuse map.
- map should point to a 24-bit TGA reflection map, where darker colours will lead to more cubemap reflection.
- translate x, y needs two values to tell the water surface how to scroll. In this case it is moving only on the Y axis, to make it move faster you would multiply time by a larger value.
- vertexColor is needed to make sure the water model can have vertex-alpha to fade out sharp edges.
- program water/shoreline_froth sets the renderprogram to be used, and requires the following parameters:
Underwater Surface Materials
Here is an example material of an underwater surface material.
material water/mapname_water_underside {
	qer_editorimage textures/common/water
	nonsolid
	sort nearest
	polygonOffset
	{
		blend blend
		parameters2 0.32, 0.25, 0.149, 0.015
		program sfx/foggyWaterSurface
	}
	translucent
}
This is used on underwater surface models (which can be created by taking the water model and inverting the normals, see below). Basically it makes the underwater fogging look correct when seen from below the surface.
Water Models
Any kind of model can potentially be a water model, since it's just a matter of applying a water material to the mesh.
- For most cases your water model should be a flat plane (for oceans, puddles etc).
- Flat vertical planes can be used for dripping water.
- You can use more intricate shapes for creating water flowing over and around obstacles.
- For more realistic effects with scrolling water shaders, you could try squashing/stretching UV sections to make it appear that the water is flowing faster or slower in particular areas.
Vertex Alpha
Vertex Alpha can be used to fade out the edges of your water models to create a more natural visual effect, by eliminating sharp edges where the water mesh meets any terrain or brushwork.
Vertex Alpha in LightWave
It is fairly easy to apply vertex alpha to fade out water edges in LightWave.
- Load your water model in LightWave Modeler.
- Select all of the model's vertices (just Invert Selection in Points mode if you have nothing selected).
- Go to the Map tab, look for the Point Color button on the left.
- In the window which pops up, give your vertex map a name (eg. "Vertex Color").
- Make sure Use Alpha is checked on.
- Set the Alpha value to 1.0, then hit OK
- Now select any vertices which you want to fade out (usually all the vertices along the outside edges).
- Open the Info panel (the button at the bottom of the window, or default hotkey is i).
- Select Vertex Color in the Edit Value field at the bottom of the Point Info window that pops up.
- Click the Edit All button on the right of the Point Info window to edit all the selected vertices at once.
- Change the Alpha value at the bottom of the Point Info window to 0.0 % (hit Enter to make sure it keeps the change).
Underwater Surface Models
These can be created easily by selecting all the triangles of your water mesh, duplicating them, and flipping the normals. Then simply apply an "underside" material (as described above).


