Difference between revisions of "A Simple First Map"
(→Texturing) |
|||
| Line 60: | Line 60: | ||
Now the brush is selected, it can be assigned a texture by using the 'Media' tab at the bottom of the 2D view, and finding an appropriate texture from the library. This example will use 'concrete/concrete_floor01' - as soon as you select it, you should notice the 3D view updates to show this. | Now the brush is selected, it can be assigned a texture by using the 'Media' tab at the bottom of the 2D view, and finding an appropriate texture from the library. This example will use 'concrete/concrete_floor01' - as soon as you select it, you should notice the 3D view updates to show this. | ||
| + | [[Image:simplemap_walls.jpg|thumb|400px|right|Texturing the walls]] | ||
| + | |||
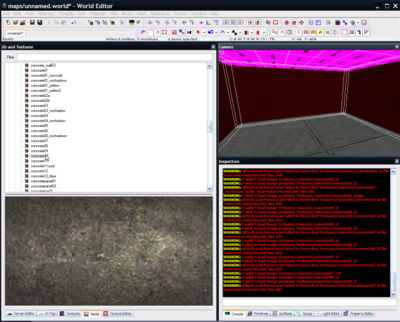
| + | You can also texture the walls by first deselecting the floor ({{accelkey|esc}}) and using the 3D view to select ({{accelkey|shift}}{{accelbtn|lmb}}) each of the 4 walls in turn so they're all selected. Then use the media browser again to assign a different texture to them - for example 'concrete/concrete10'. | ||
{{clear}} | {{clear}} | ||
Revision as of 11:51, 22 November 2007
This is the barebones guide to creating a barebones map. It won't have terrain nor much gameplay, but it will demonstrate the basics of mapping for ETQW, including how to launch the editor, create a basic map, then compile and run it.
Contents
Launch the Editor
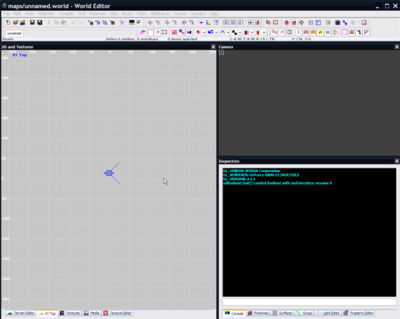
Having installed the SDK and set up its paths correctly, tick the 'editWorld' tickbox and press the 'Launch SDK' button. A few moments later and the editor should be loaded with a blank, empty map.
Map Basics
Before we do anything further, you need to be aware of the basic requirements for a map:
- A sealed environment
- A player start entity placed inside the environment
- A light entity placed inside the environment
Once we have those, the map can be saved, compiled and run.
The Environment
The most basic environment consists of four walls, a floor and a ceiling. Each of these is made out of a brush - a brush for each wall, a brush for the ceiling, and a brush for the floor. These brushes need to be placed to form a box with no gaps in between them, and assigned an attractive texture.
The simplest way to do this is to use the 'Hollow' tool. This tool lets you create a brush the size of the room you want, and then uses this single brush to automatically create the 6 brushes (walls, floor and ceiling).
Creating a brush
The 2D view is a 'top-down' view of your map. So by creating a brush here, we can choose the length and width of the room, but not its height.
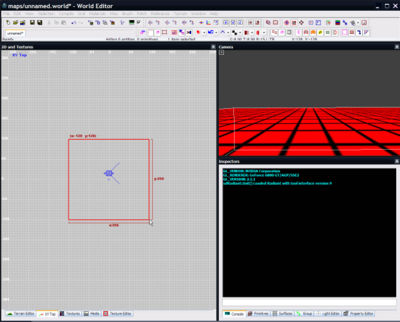
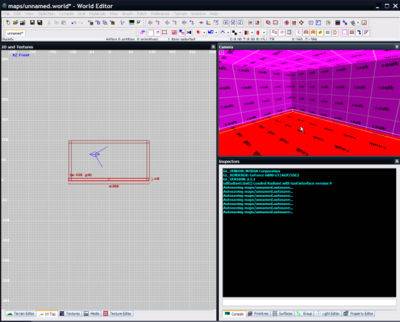
Creating a brush is simple - just drag your mouse in the 2D (grid) view. This will draw a red outline representing the brush you've now created.
In this case, we've drawn a brush 256 units long and 256 units wide. The player is 64 units wide, so can easily fit into a room of this size.
Modifying a brush
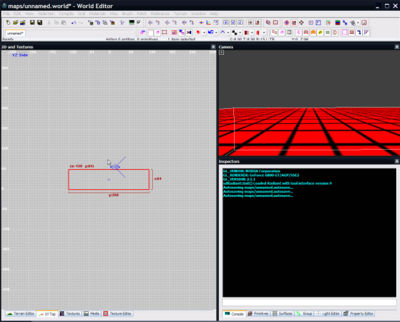
You can use ctrltab to move through each view - top, front, side - as much as you want. Press it until you get to the 'XZ Front' or 'YZ Side' view (as indicated in blue text in the top-left corner of the window). This lets you see how tall the room is as well as how long and wide it is.
You may notice the brush is just 64 units high - too short for the player!
This is easily fixed. Make sure the brush is still selected (highlighted red - use shiftlmb to select it if not) and place your mouse just above the brush in the YZ side view. Then drag upwards with lmb until the brush is about 128 units tall.
Hollowing a brush
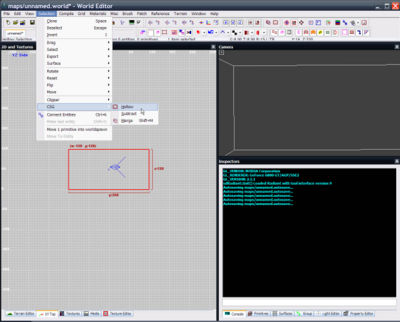
We now have a brush the same size as the room we want to create. Unfortunately, it's just a solid lump of matter. We need to make it a room by hollowing it out.
The quickest and simplest way to do this is use the 'CSG Hollow' tool. This simply uses your selected brush as a template to create 6 more brushes that encompass it. The tool also deletes your original brush, leaving you with a room built out of 6 brushes - 4 walls, a ceiling and a floor.
You can use the 3D camera to see the result of the hollowing process. rmb on the 3D view to toggle control of the camera, and use mousewheel to move forward and backward.
The important thing to realise here is that the room is sealed - there's absolutely no way to see from the inside of the room to the outside. If there were a hole somewhere, the compiler would report a 'leak' and you would not be able to run the map.
Texturing
Using the 3D camera, you may notice the brushes are textured using the caulk texture (on the inside) and some other texture (on the outside). In the game, any surface with the 'caulk' texture is invisible, and has sky drawn on it instead. So right now, this room isn't a room at all - or at least won't look like one in-game - it'll just be sky (or black) wherever the player looks.
To give the room a visible floor, you need to select the floor and assign a texture. First, press esc to deselect everything else, then select just the floor brush by clicking on it in the 3D view with shiftlmb, so it is highlighted in red.
Now the brush is selected, it can be assigned a texture by using the 'Media' tab at the bottom of the 2D view, and finding an appropriate texture from the library. This example will use 'concrete/concrete_floor01' - as soon as you select it, you should notice the 3D view updates to show this.
You can also texture the walls by first deselecting the floor (esc) and using the 3D view to select (shiftlmb) each of the 4 walls in turn so they're all selected. Then use the media browser again to assign a different texture to them - for example 'concrete/concrete10'.
